
Maxxon® has the right solution for common problems that can arise on a jobsite, at an economical cost. Click your problem below to see the solution.


Removing polymer modified thin set
Maxxon® Unset
Pain point – removing polymer modified mortars from the substrate is difficult and can be destructive to your tools and your labor force
- Step 1 – In a small test area, apply and let soak 1-2 hours to determine if it’s a polymer modified thin set. If it dries out completely, re-apply and continue to re-apply until it rejects or puddles. This may require multiple applications. The result should become “liquid dust”
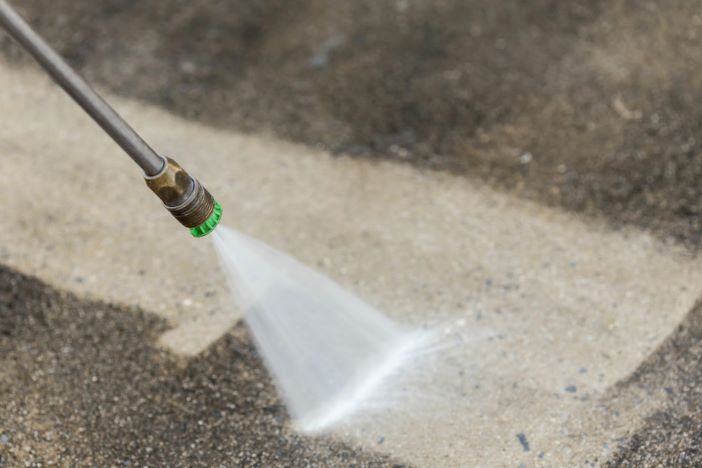
- Step 2 – Use small pump sprayer to soak entire area, leave minimum of 3-4 hours. May require multiple applications, depending on the type and thickness of the mortar
- Step 3 – Scrape up old thin set
- Step 4 – Clean with buffer & 3m black scrub pad and water
- Step 5 – Rinse & allow to dry. Active ingredients will completely evaporate after 72 hours
- Step 6 – Begin proper prep for new installation
- Step 7 – Thoroughly clean your sprayer, to prevent corrosion. Also great for cleaning the mortar off your tools

Features & Benefits
Removing traditional adhesives
Maxxon® Unglued
Pain point – the removal of traditional adhesives is an arduous process. Unglued removes most types of adhesives
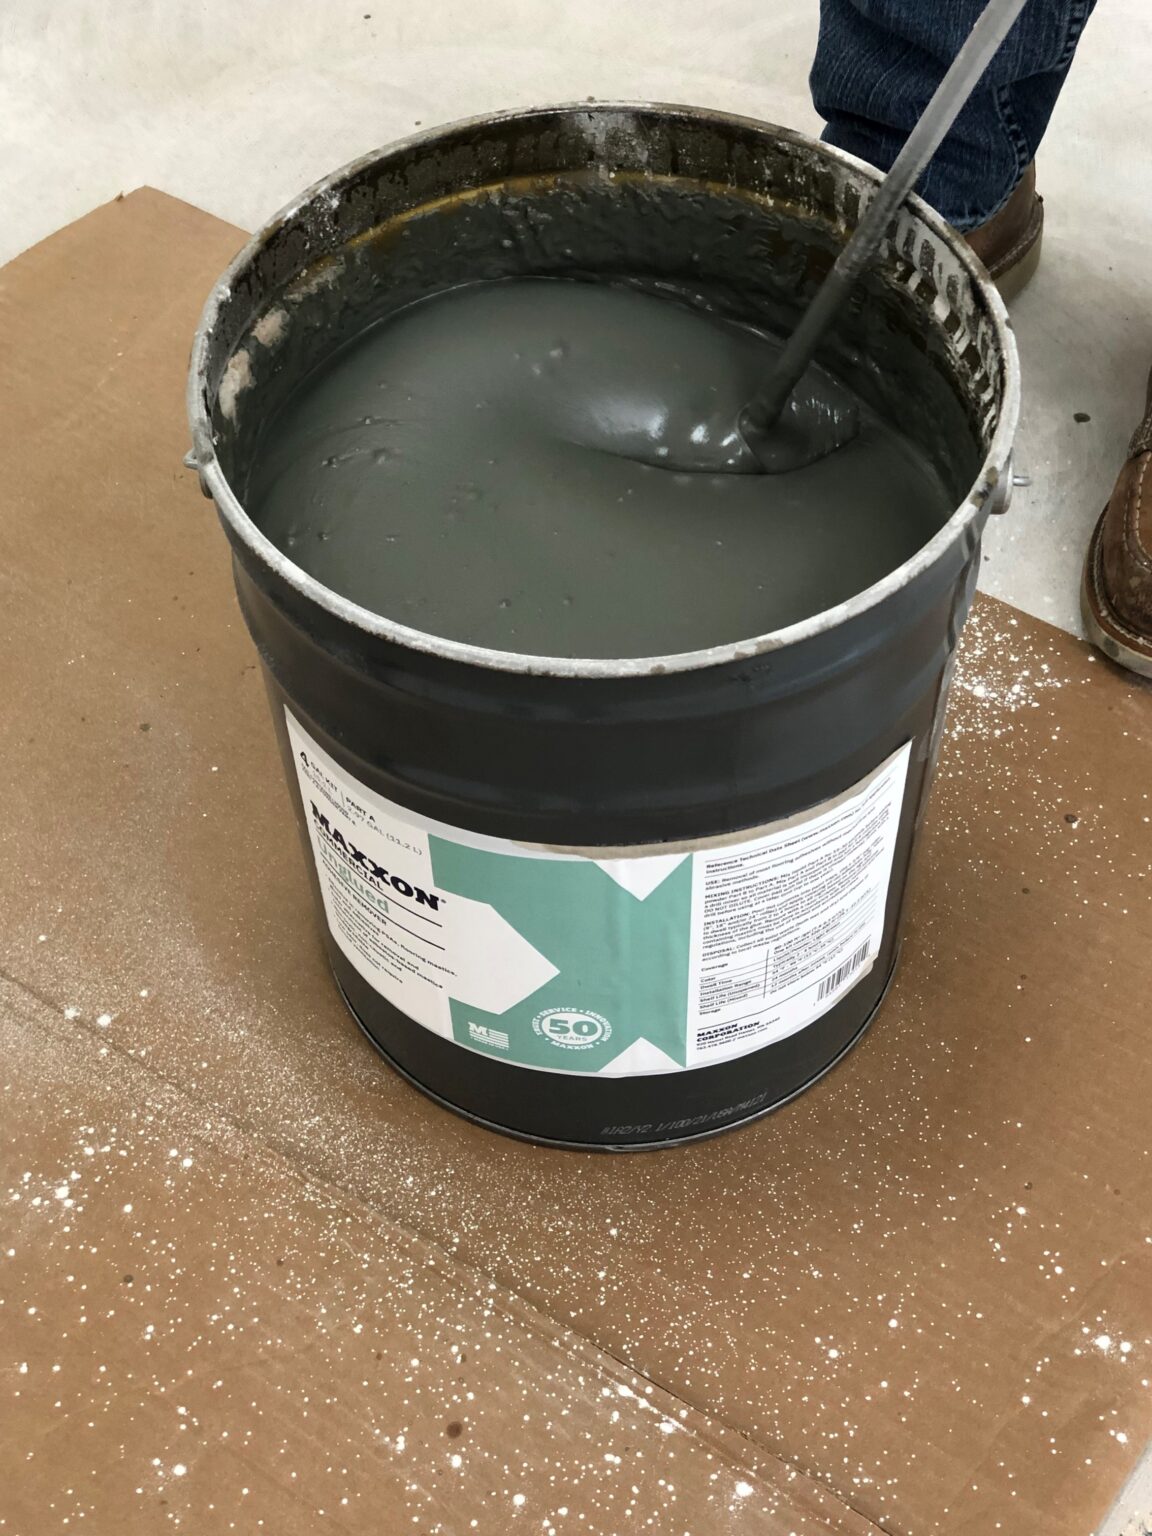
- Step 1 – Remix the contents of the bucket until smooth, no lumps. Use low RPMs to prevent splashing
- Step 2 – In a small test area, apply and let soak 2-4 hours to break down adhesive. The thicker the adhesive residue is, the longer it will need to soak
- Step 3 – Must be applied directly to the surface of the adhesive with a 3/8″-nap roller
- Step 4 – Scrape adhesive off the floor
- Step 5 – Clean with buffer & 3m black scrub pad and water. Suspend and rinse
- Step 6 – Repeat the rinsing as necessary until all residue is removed. Allow to dry
- Step 7 – Begin proper prep for new installation
Features & Benefits
Removing broadloom and adhesive
Maxxon® Unset
Pain point: removing glued-down broadloom and the adhesive left behind from the substrate is difficult and can be destructive to your tools and your labor force
- Step 1 – In a small test area, apply and let soak 1-2 hours. Reapply if needed, depending on the thickness of the adhesive
- Step 2 – Use small pump sprayer to soak entire area, leave minimum of 3-4 hours. May require multiple applications, depending on the type and thickness of the adhesive
- Step 3 – Scrape up old adhesive
- Step 4 – Clean with buffer & 3m black scrub pad and water
- Step 5 – Rinse & allow to dry. Active ingredients will completely evaporate after 72 hours
- Step 6 – Begin proper prep for new installation
- Step 7 – Thoroughly clean your sprayer, to prevent corrosion. Also great for cleaning your tools
Features & Benefits
Cleaning and profiling concrete substrates
Maxxon® Profile
The pain points
- Dust in occupied space, dirt, stains, lack of porosity
- Noise, no access for machinery (related to job site conditions)
- Lack of experience using the machinery and possible damage
The steps to solution
- Step 1 – Remove all glue, paint, and other residue. Profile must come in direct contact with the concrete. See instructions for Maxxon® Unglued or Unset as needed
- Step 2 – Small test area, ~2 hours to CSP 2
- Step 3 – Mask off any metal surfaces
- Step 4 – Using a pump sprayer, apply to the entire floor
- Step 5 – Agitate (stiff/non-metal broom or brush) to activate
- Step 6 – Rinse and check for desired profile
- Step 7 – Repeat if necessary to achieve desired CSP
- Step 8 – Thoroughly clean your sprayer, to prevent corrosion

Features & Benefits
Compromised gypsum substrates
Maxxon® Fortify™, Gyp-Fix EZ, Level EZ™, & EZ Crete™
The pain points
- Maintains the fire rating of your existing gypsum substrate by consolidating and strengthening it
- Minimizing the risk of assuming responsibility and dealing with the unknown – jobsite conditions and poor workmanship
The steps to solution
- Step 1 – Test the substrate by scratching the floor with a fingernail. If you get material under the nail, you need Fortify™
- Step 2 – Vacuum and clean the substrate
- Step 3 – With a pump sprayer, apply first coat of Fortify™ (1:1) to entire floor & allow to sit 4 hours
- Step 4 – With a pump sprayer, apply second coat of Fortify™ (full strength) to entire floor & allow to sit 1 hours – foot traffic when dry – back roll puddles with 3/8” nap roller if reach point of rejection
- Step 5 – When dry to the touch, UL fire rated Maxxon® underlayments can be applied:
- Gyp-Fix EZ for minor repairs
- Level EZ™ to resurface entire space
- EZ Crete™ to replace debonded areas
- Step 6 – Apply appropriate sound control products if necessary/required

Features & Benefits
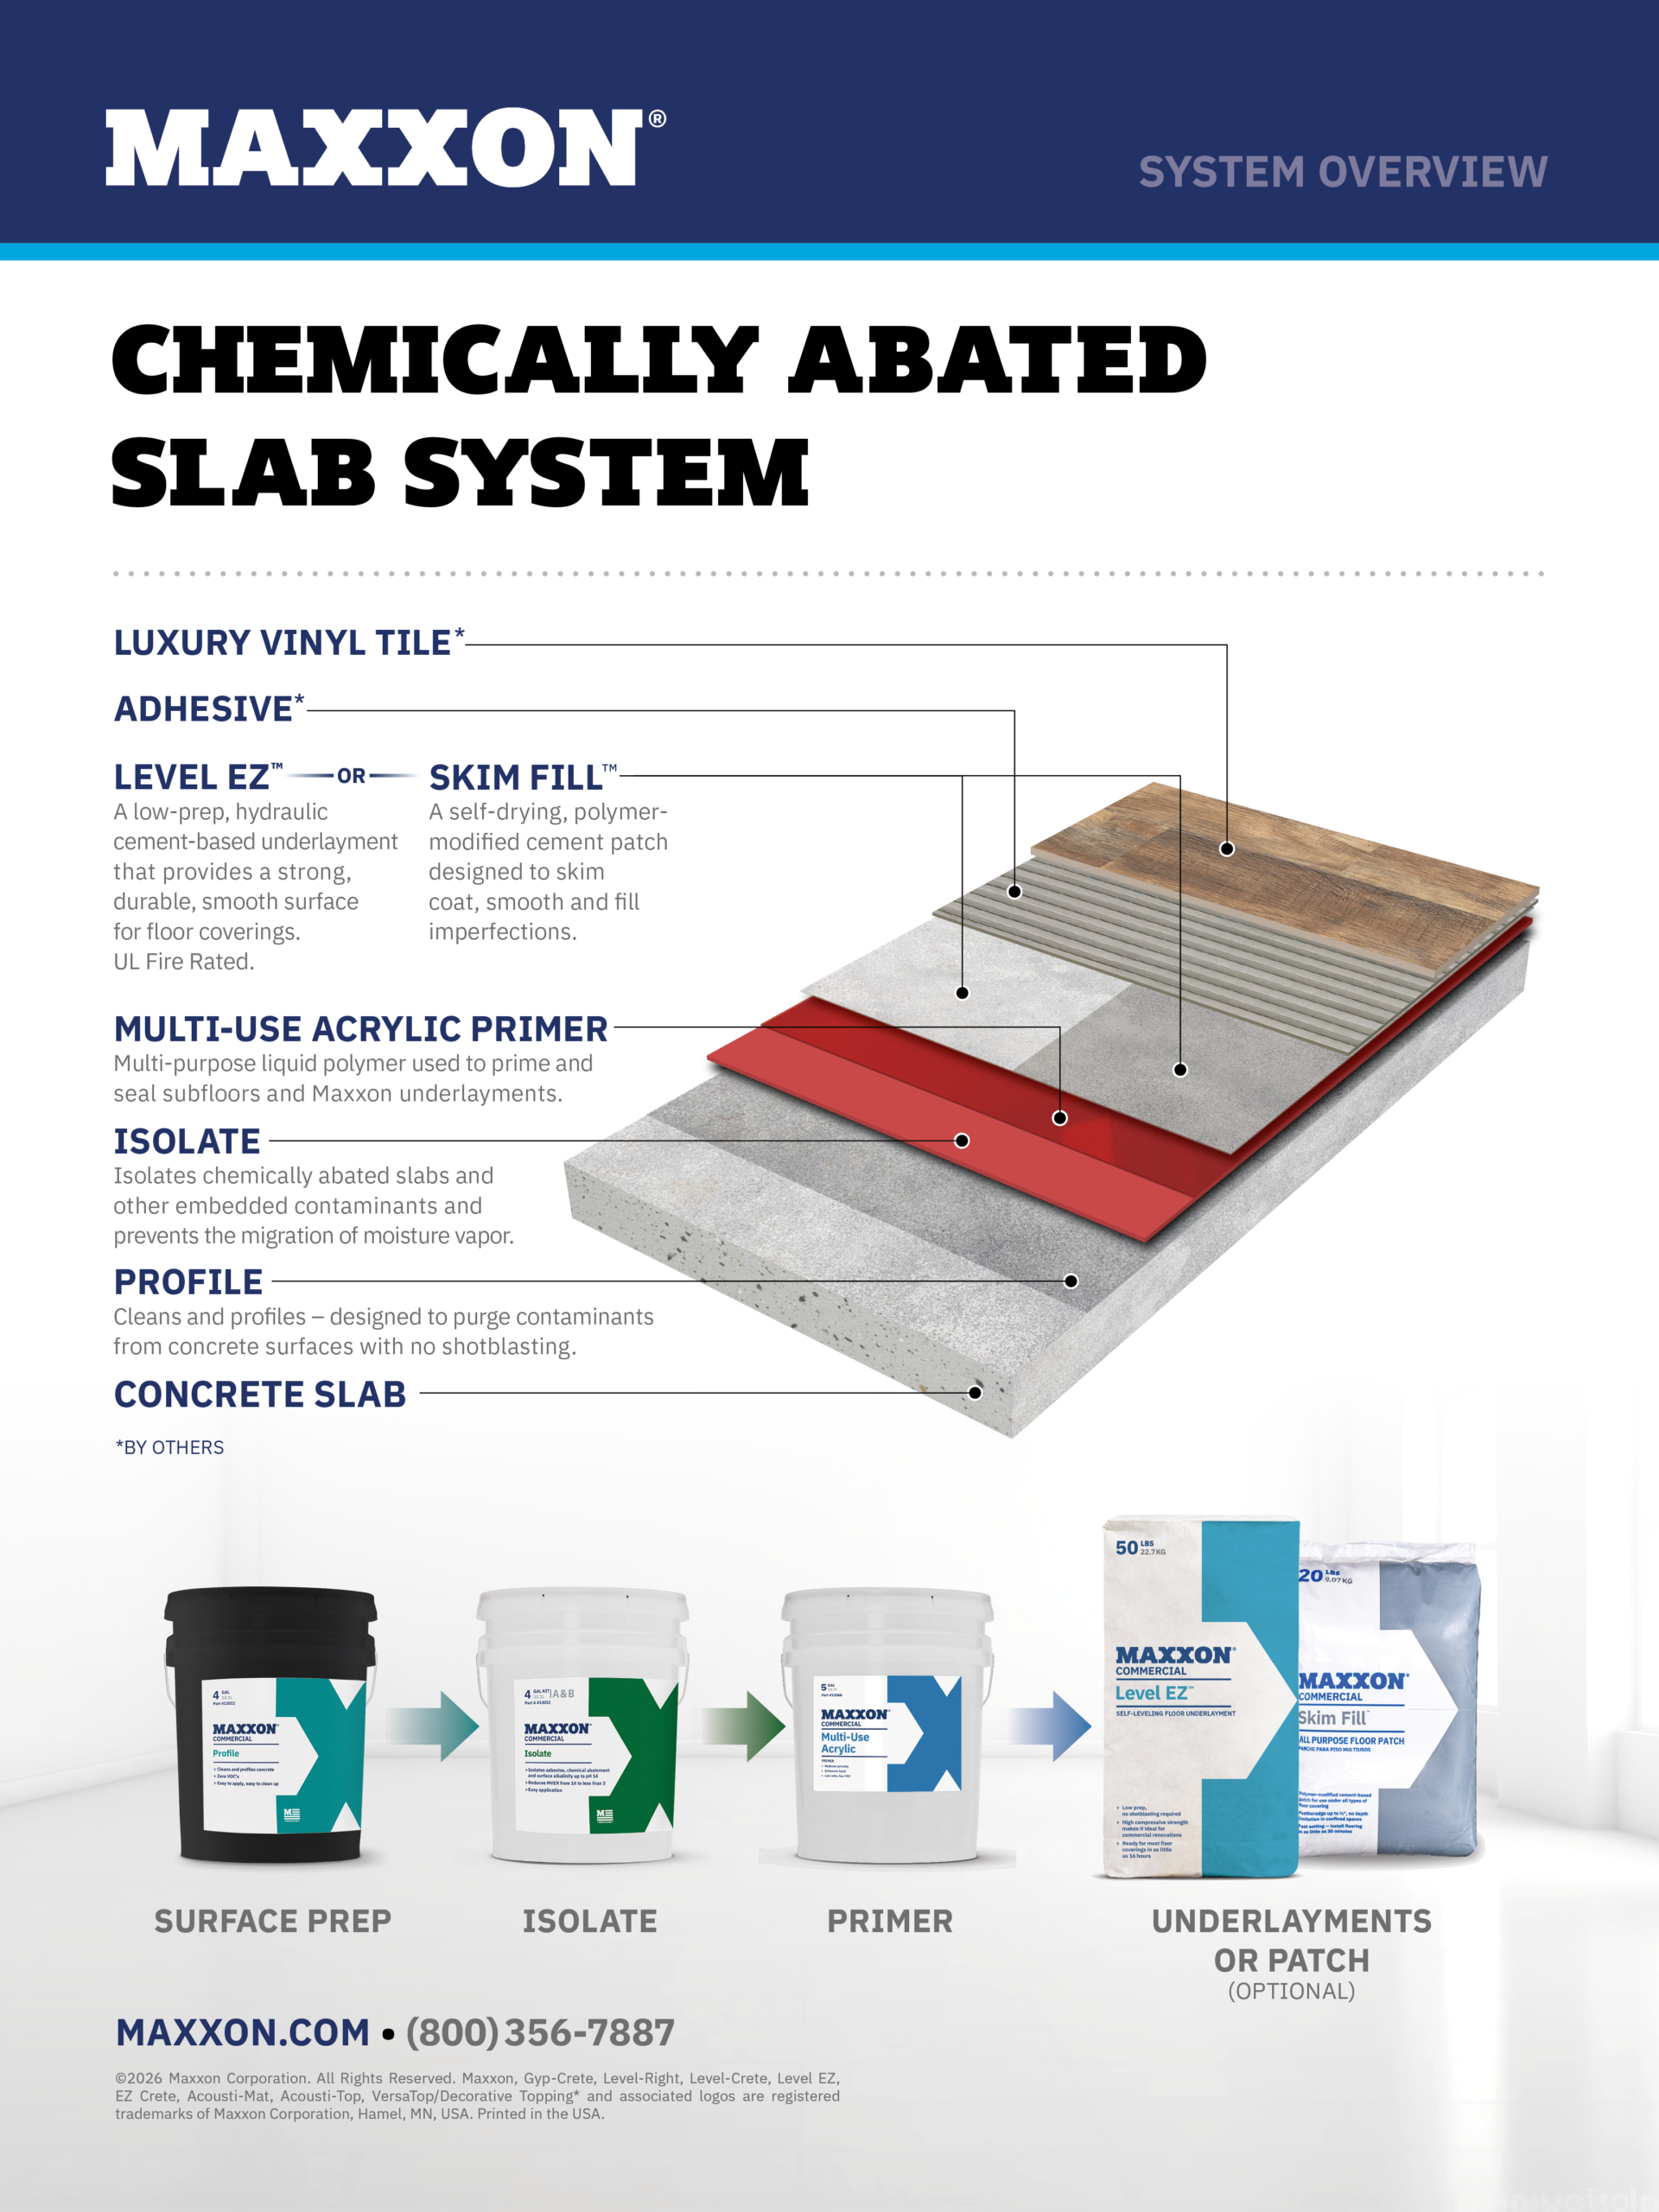
Encapsulating abated slabs
Maxxon® Isolate (and potentially Profile and Multi-Use Acrylic Primer)
The pain points
- Chemical residue that isn’t properly removed will act as a bond breaker.
- Step 1 – Clean the floor with Profile to ensure all abatement chemical residue has been removed.
- Step 2 – Thoroughly rinse floor with water & scrub with 3M black scrubbing pad – multiple times as needed – doesn’t need to be fully dry to then apply Isolate
- Step 3 – Apply Isolate
- Grid off the floor. Do not spread farther than recommended.
- Thoroughly mix sediment of Part B before adding hardener (Part A), then mix together with the specific paddle: plastic helix epoxy paddle
- Apply Isolate with a 3/8″ nap roller.
- One coat is 100% rH and 14 lb MVER
- A second coat increases to 19 lb MVER
- Allow to dry 4-6 hours, to become tack-free. Should be a matte finish, not glossy
- Step 4 – Apply Maxxon® Multi-Use Acrylic Primer, full strength.
- Step 5 – Apply Maxxon® patch/level/skim coat as needed
- Step 6 – Install the floor covering per manufacturer recommendations